Fitting running/side marker lights to your Mazda MX5/Eunos Roadster is a subtle mod to make your car stand out a bit and increase visibility to other road users, it's also ridiculously easy to do yourself even if you have never worked on car electrics before.
US spec cars have orange running lights in the front and red running lights in the rear, however UK and JDM spec MX5's have reflectors instead.
Fortunately for us it's very easy to fit bulbs in these reflectors and wire up the side marker lights to be come on with the side lights.
Tools needed:
- Cross head screwdriver
- Wire strippers/cutters
- Crimping tool
- Drill
- Large flat head screwdriver
- Pliers
Parts needed:
- 2 x 501 (W5W) bulb holders
- 2 x Amber 501 bulbs
- 4 x Cable Lock (Scotch Lock) Connectors
- 4 x Butt connectors
- 2 x cable ties
- Electrical tape
- 8amp wire
Step by step guide
Remove side reflectors and make hole in the rear to fit bulb holders. To remove them just undo the two phillips screws on either side and then gently pry out.
The only difference between the UK and US side reflectors is that a hole was not made in the rear. So all we have to do is make that hole.
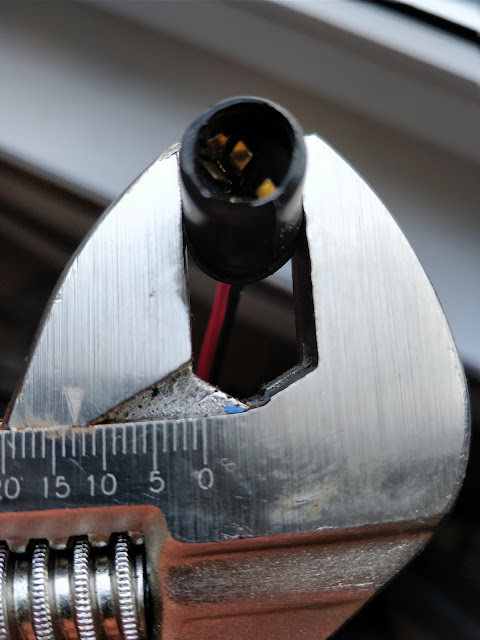
My bulb holders were about 13mm and I didn't have any drill bits that big, so I just went as big as I could and then gradually increased the size of the hole with various flat head screwdrivers. This worked very well as the plastic on the rear of the side marker is very soft.
Remove sidelight/indicator unit and thread wire through to wheel arch
Again just two phillips screws to remove the sidelight, both bulb holders twist to unlock.
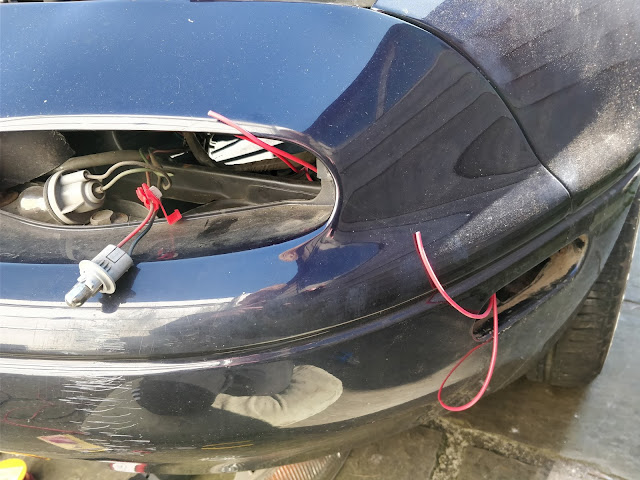
Pop up your headlights and there's a few holes to feed the wires down into the wheel arch directly under the headlight. I routed the new wires under some of the original wiring to keep it tidy and stop it from flapping around.
Fit cable lock connectors to positive and ground from the side light
The good thing about the cable lock connectors (also known as scotch locks) is that you do not need to cut any wires to tap into the connection. Watch out that both wires are centred in the connector to ensure a good connection is made.
Connect bulb holder to new wiring
Fit amber bulbs and refit reflectors
You want to check at this point that everything is still working as it should. Sometimes the scotch lock connectors can be a bit temperamental. So give everything a good wiggle and tug to make sure it's not going to lose a connection as soon as you go over a pothole.
Secure wire with cable ties
Your bumper should have this bracket in it which is ideal for securing the wires to stop them flapping around in the wind.
You're done
Like this guide? Spotted that i've done something really dumb? All comments welcome below.


What about that rear
ReplyDelete